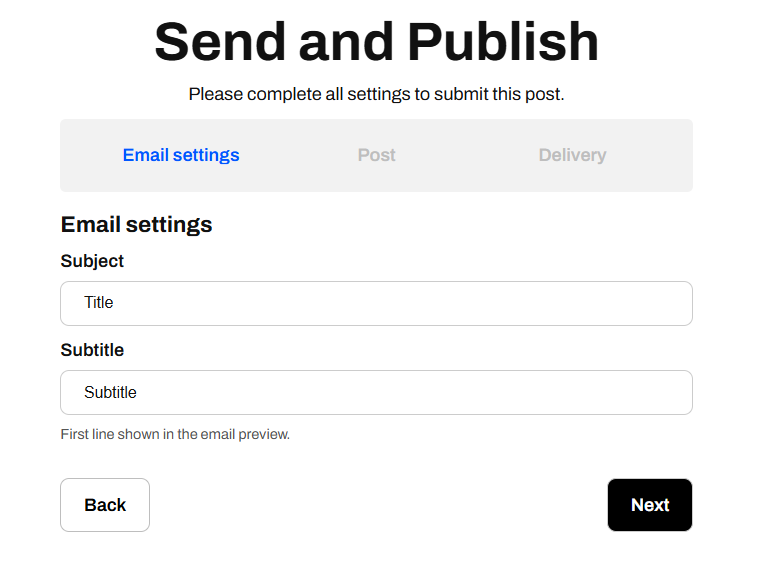
1. Email Settings
- Subject: This is the subject line of your email. It’s what recipients will see in their inbox, so make it clear, engaging, and relevant to increase open rates.
- Subtitle: This is the first line shown in the email preview (also known as the preheader text). It provides additional context to encourage readers to open the email.
2. Post Settings
If you check the “Post on website” box, your content will be published on your website along with being sent as an email. If left unchecked, the post will only be sent via email.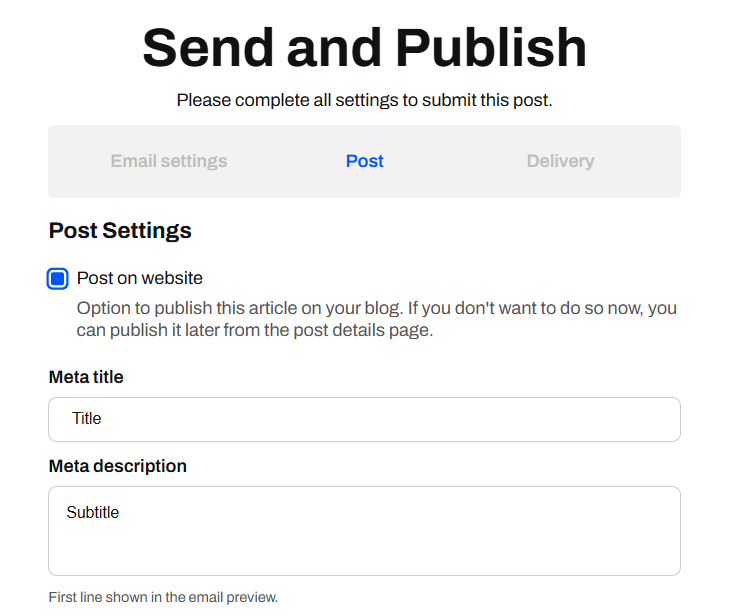
Meta tags
These fields help optimize how your post appears in search engines and social media previews:- Meta Title: The title that appears in search engines and when sharing the post. This should be clear, engaging, and relevant to your topic.
- Meta Description: A short description that summarizes your post. This is also used as the preview text in emails.
- Slug: The unique part of the URL for your post (e.g.,
your-post-url). It should be simple and related to the topic.
Search Engine Preview
This section shows how your post will appear in search results, including:- The title (from the meta title field). The text after the | is your newsletter’s name and can’t be removed here. To change it, go to Settings.
- The URL (with the slug you entered).
- A preview of the meta description if provided.
Image Thumbnail
- You can upload an image thumbnail that will be used when sharing the post on social media or embedding it elsewhere. It’s also the post image that will be displayed on your website.
- The recommended size is 1200px x 630px for the best quality.
3. Delivery Settings
This is the final step before sending your post. Here, you choose who will receive your email and when it will be delivered.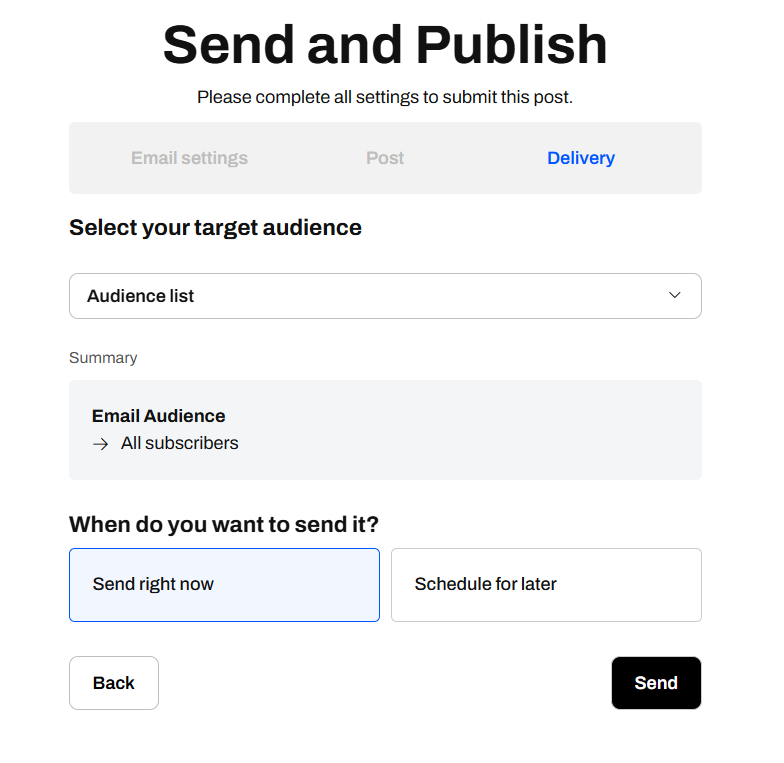
Select Your Target Audience
This section lets you choose which group of subscribers will receive the email.- Audience List Dropdown: Select the subscriber segment you want to target.
- All Subscribers Option: If you select this from the dropdown menu, the email will be sent to all your subscribers. If you have multiple segments, you can choose a specific group instead.
- Summary Box: Displays the selected audience and how many people will receive it.
- Create and Manage Segments: Clicking this lets you create and manage different audience groups for targeted emails. It will take you to the Segments page, but don’t worry — your email and configuration won’t be lost.
Select a Delivery Method
Decide when to send your email:- Send email right now: The email will be sent immediately.
- Schedule mail delivery: Allows you to choose a future date and time to send the email. This is useful if you want to optimize timing for better engagement or you want to plan several posts ahead in time. A scheduled mail can be modified from the Posts menu.