- Start from Scratch
- Use template
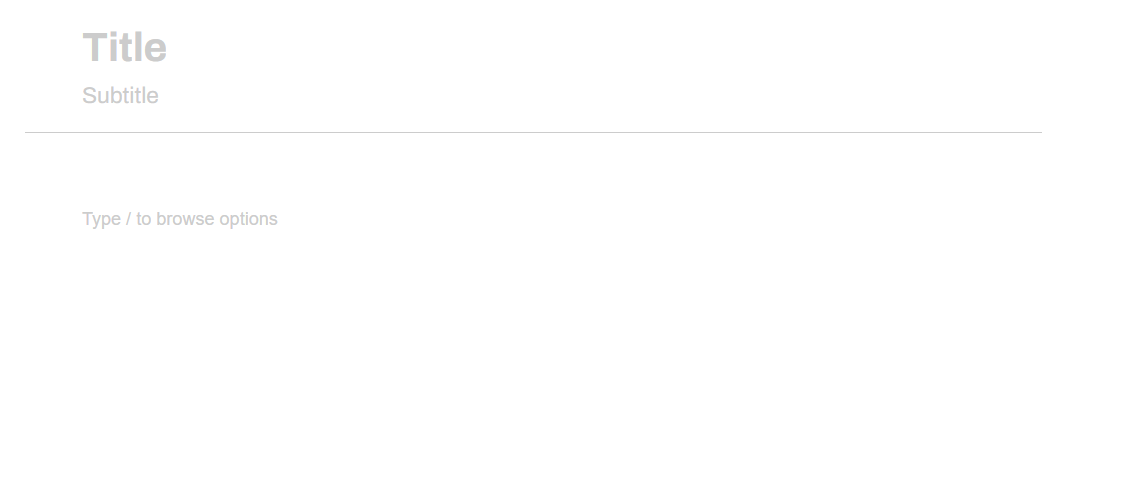
/ to quickly insert elements like images, links, or different text styles.
Title & Subtitle
At the top, you can set the title and subtitle for your email. This is the first thing your audience will see, so make it clear and engaging.
Formatting Options (Right Panel)
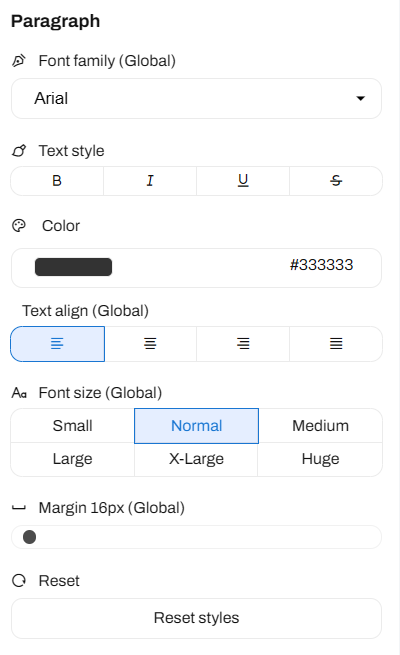
To make your post look polished, you have full control over formatting. Depending on what element you have selected, you will see different formatting options:- Font Family: Choose a font style that matches your brand.
- Text Styling: Apply Bold (B), Italic (I), or Underline (U) to highlight key points.
- Color: Pick a custom text color using the color selector or enter a hex or RGB code.
- Text Alignment: Align text left, center, right, or justified to improve readability.
- Font Size: Select from Small to Huge to emphasize important sections. We recommend to keep the default settings
to avoid hurting our design team feelingsbecause they have been prepared to ensure readability on most devices - Margin Adjustment: Use the slider to increase or decrease the margin size (measured in pixels) around your text.
- Reset Styles: If you want to revert your changes back to the default, just click Reset Styles to start fresh.

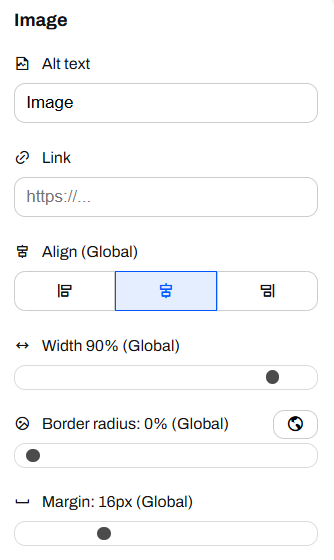
- Alt text: This is the text that appears if the image fails to load and it’s also useful for screen readers and improves accessibility and SEO.
- Link: If you added the image using an external link, it will be displayed here.
- Align: Controls how your image is aligned within the email.
- Width: Adjusts how wide the image appears. For example, if you it to 60%, the image takes up 60% of the content width.
- Border radius: Controls how rounded the image corners are.
- Margin: Adds space around the image.

/, you’ll see a menu with different formatting and content insertion options to structure your post.
1. Format
- Paragraph: This is the default text format for body content. Use it for writing normal text.
- Ordered List: Creates a numbered list, useful for step-by-step guides or ranking items.
- Bullet List: Adds an unordered list with bullet points, great for listing ideas or key points.
- Quote: Formats the text as a blockquote, useful for emphasizing important statements or quoting sources.
2. Headings
Headings help organize content and improve readability:- Heading 1(H1): The largest heading, typically used for the main title of your post. The title of your post is already a H1 title, so we recommend not using this option for posts at least, since search engine crawlers don’t like having multiple H1.
- Heading 2 (H2): A subheading, useful for breaking down sections within your content.
- Heading 3 (H3): A smaller subheading, great for dividing content into smaller parts under a H2.
3. Insert Elements
- Divider: Inserts a horizontal line to separate sections visually.
- Image: Allows you to add an image to your post. You can upload an image or insert one from a URL. Keep in mind that inserting images directly from a URL requires an address that ends on any supported format (.jpg, .jpeg, .png, .gif…)
Once you finish your post, you can click on the upper right side on Preview to preview it on both desktop and mobile devices or Next to configure additional settings before sending it.