Your welcome email is often the first message a new subscriber receives, let’s make it count!
You can set it up in Audience → Welcome Emails.
 This automation triggers automatically when someone joins your newsletter, and it’s a great moment to start building a connection.
Tip: Ask a question, add a quick poll, or simply say hi to encourage interaction
Step 1: Add your first email
Create your first email just like you’d create a regular post. Once it’s ready, click Next to open the Settings panel.
You’ll see the usual fields for Subject and Preview text, plus two extra options:
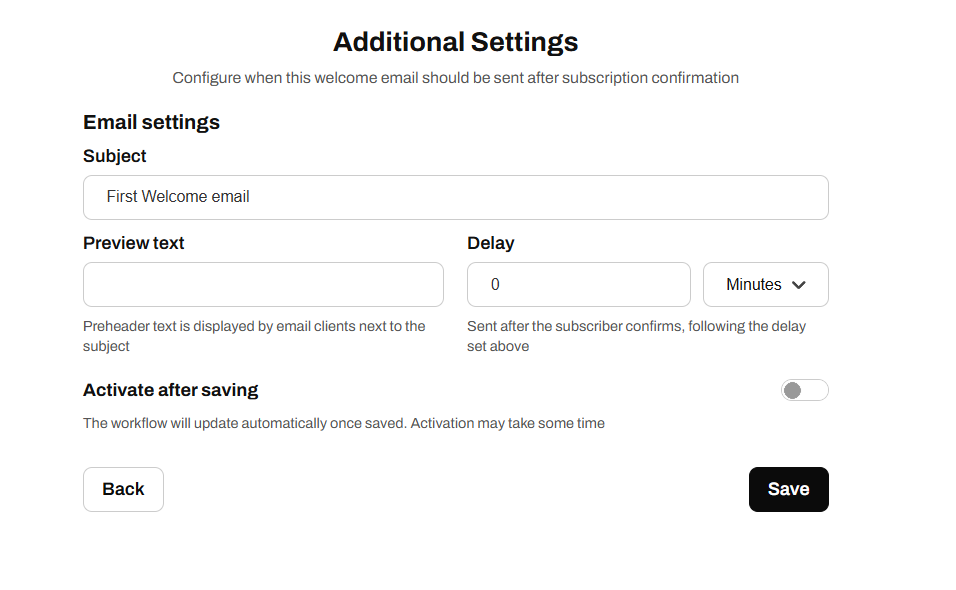
Delay
Define how long the system waits before sending the email after a new subscription. You can choose minutes, hours, or days.
We recommend sending it immediately, that’s when it’s most likely to be opened.
Activate after saving
Enable this option to start sending the email automatically to every new subscriber. Turn it On only when you’re ready to go live.
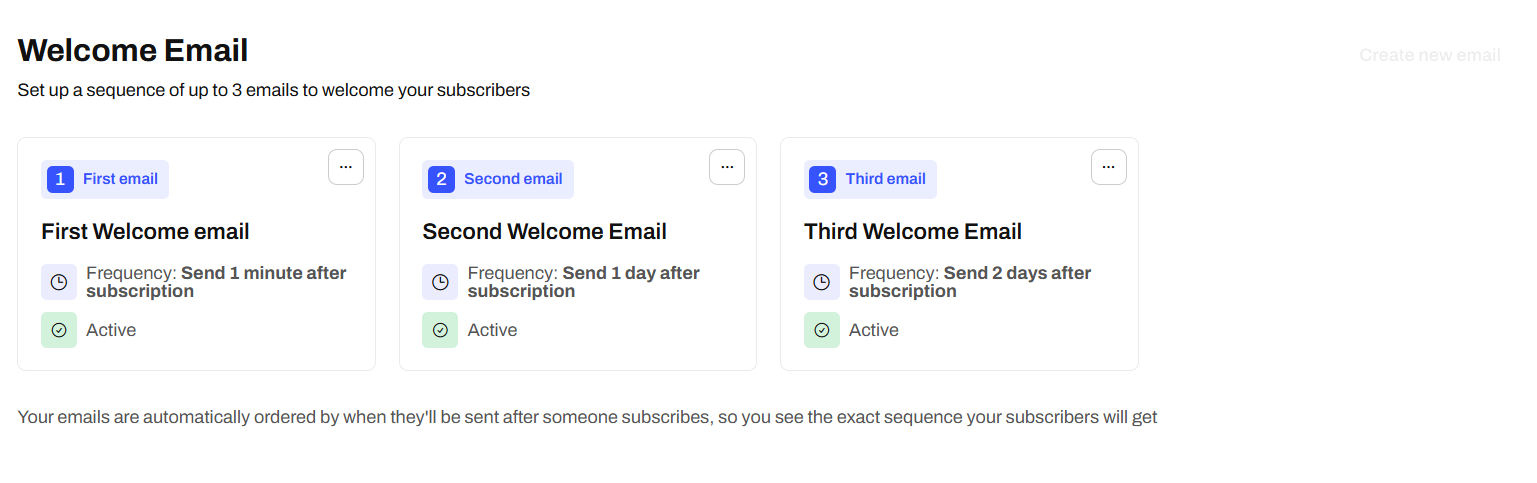
Step 2: Add additional emails
You can set up to three welcome emails in total. Sending just one is also fine.
Emails are automatically ordered by their delay. For example:
| Email | Delay | Sent After |
|---|
| 1 | 1 minute | Subscription |
| 2 | 1 day | Subscription |
| 3 | 2 days | Subscription |
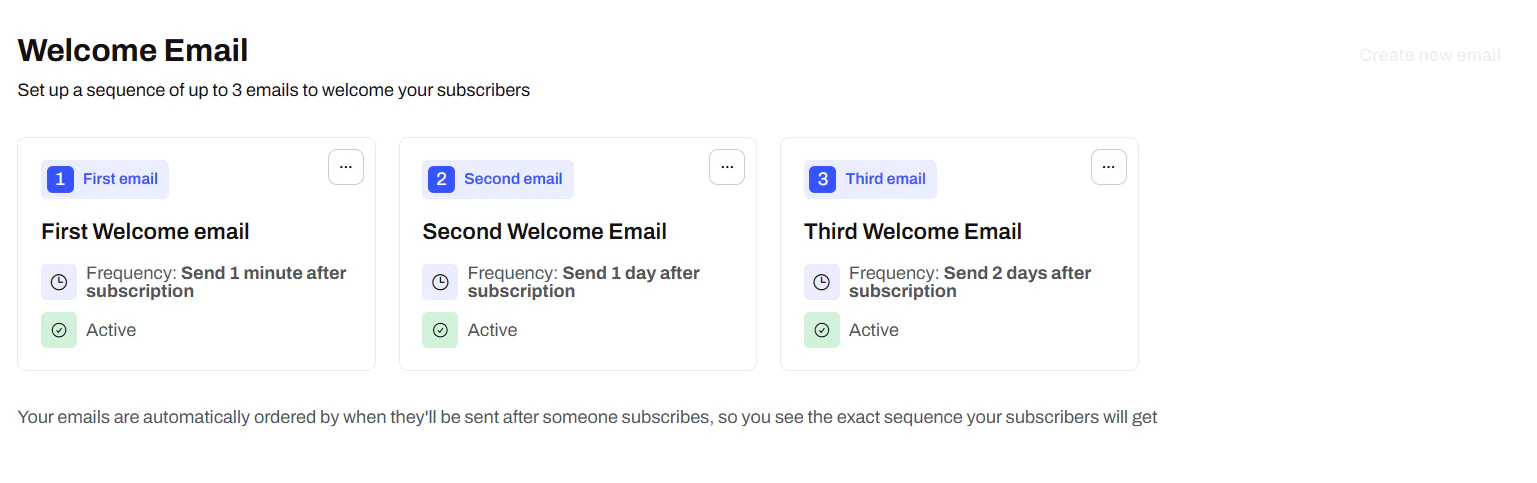
You can’t add more than three emails in a sequence. To make changes, either delete one or edit its content, it updates apply automatically once saved